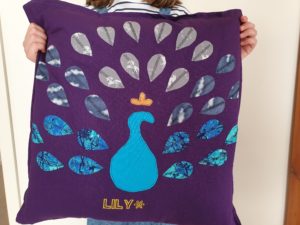
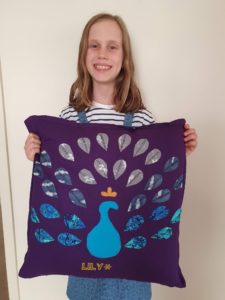
I love kids sewing. My little miss decorated a cushion for her Besties birthday. She stitched every one of those feathers on, so proud!
After a trip to IKEA to choose a plain cushion cover and insert, we then chose the peacock pattern that we liked. Head over to The Sewing Loft to see the free pattern. We worked together to choose fabrics and trace the template onto heat and bond. After ironing it on we cut out each feather, body and crown and worked out where to place them. After ironing them onto the cushion my little miss then sewed on the feather with a zig zag stitch, and I sewed on the body and crown. She learnt a lot from this process, including sewing through both layers of the cushion!
 go down a size, and it was recommended to extend the length of the pattern. I chose the cap sleeve option with a v-neck front and round back. I added an extra 2 inches to my front and back pattern pieces. As the pattern is 56 pages long (that’s a lot of taping pattern pieces together) I traced off my bodice pieces. I cut at the suggested spot to extend the pieces and reshaped them. I cut out the skirt in the same size and then cut out my fabric.
 I decided on a v-neck for my first one. It suggested if you haven’t made one before then you should do a trial first. I didn’t. I missed the step that said to fold the binding in half so had to redo the binding. Luckily before I sewed it on. This fabric is no
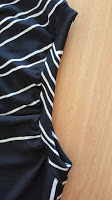
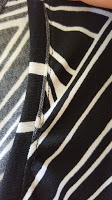 t very forgiving, and is nearly impossible to unpick. The v still looks like a v, it’s just not even on the left hand side. I also managed to catch the binding when sewing it onto to the dress. There was no way to unpick it so I just had to run with it. I obviously didn’t have my quarter points quite even so the binding was stretched in some places more than others when sewing. This created an uneven binding, and my top stitching which I did from the edge therefore isn’t even. But luckily on black you can’t really tell!